
LED Display Site Readiness: A Pre-Installation Checklist
Article Summary
Use this LED display site-readiness checklist to coordinate structure, power, signal, access, storage, installation, testing, and handover before delivery.
An LED display can leave the factory on schedule and still wait at the destination because the structure is unfinished, power has not been tested, signal routes are blocked, lifting access is unavailable, or the installation area is being used by another contractor. These problems are expensive because they affect labor, equipment bookings, storage, and the final operating date. A site-readiness review gives the buyer, installer, electrical team, structural team, network team, and display supplier one shared release point before delivery. This checklist explains what B2B project teams should confirm and document before LED cabinets arrive.
Site readiness is more than an empty wall
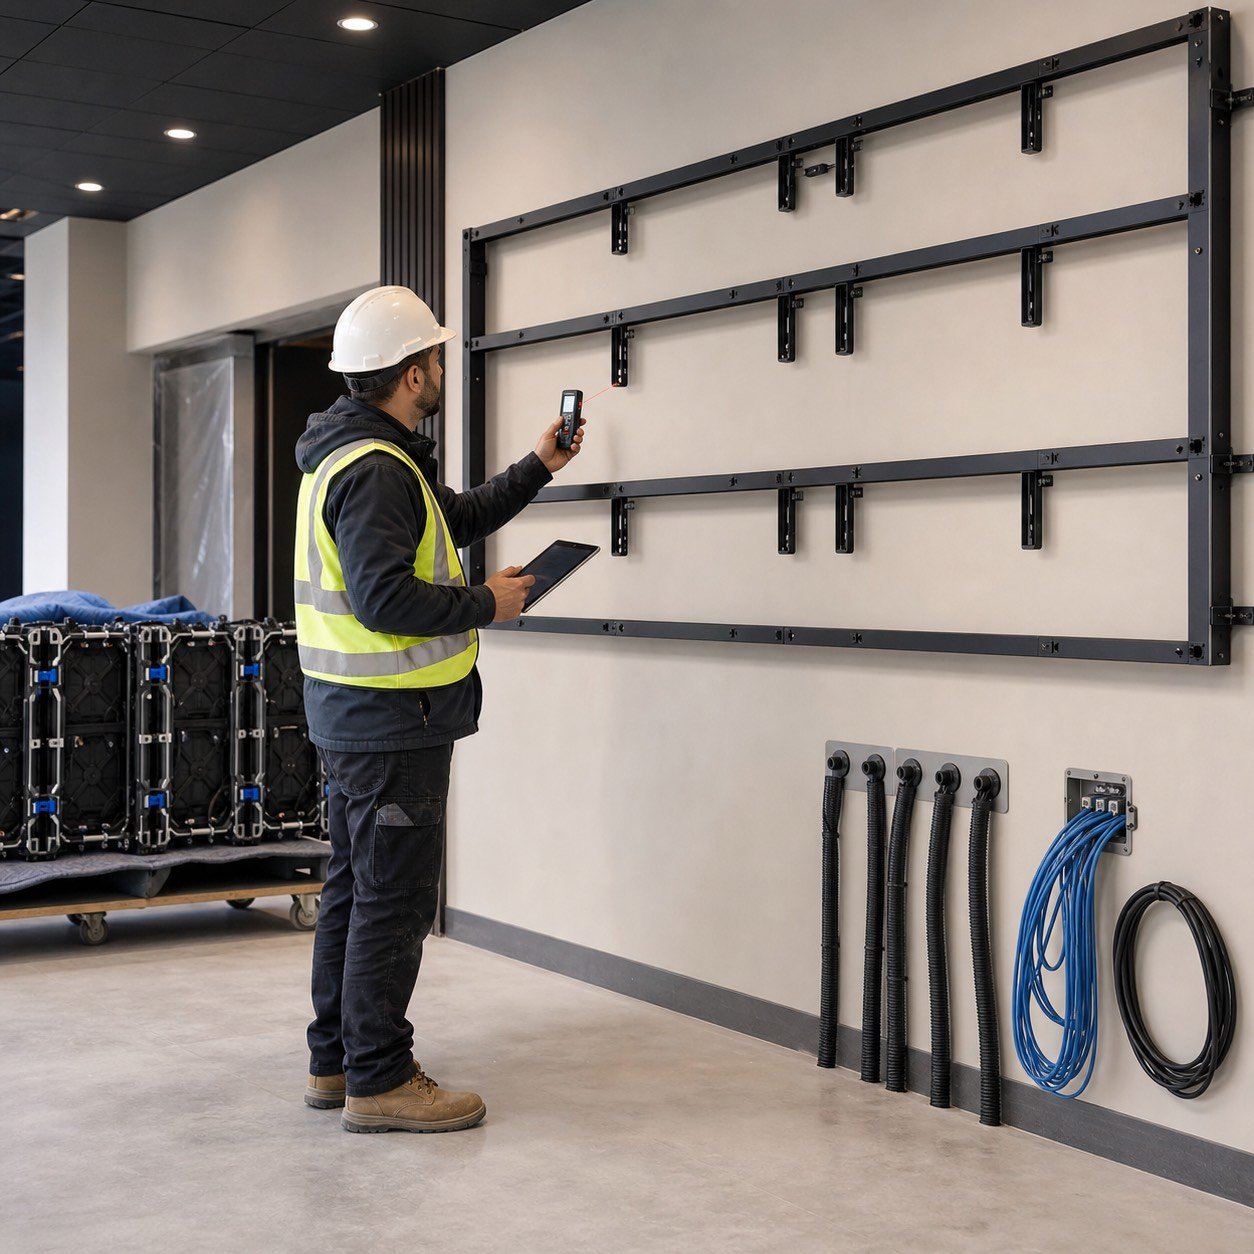
The screen location must support the complete installed system: cabinets, mounting structure, service movement, power distribution, signal equipment, ventilation, weather protection where relevant, operator access, and safe installation work. The required conditions vary between an indoor lobby wall, outdoor billboard, retail window, rental stage, meeting room, control center, and broadcast set.
Define the installation method and site boundaries during LED display project planning before quotation. The supplier needs accurate dimensions, photographs, drawings, power information, cable distances, service direction, access restrictions, and the intended operating date before it can identify the correct interfaces.
Assign ownership before checking the site
A checklist is useful only when every item has an owner and acceptance evidence. The LED supplier may define cabinet interfaces and system requirements, but the buyer or appointed project professionals usually coordinate the building structure, electrical distribution, local network, permits where applicable, access, lifting, protection of finished surfaces, and site safety. Record who designs, supplies, installs, inspects, approves, and energizes each part.
Use one readiness approval table
| Readiness area | What to confirm | Useful evidence |
|---|---|---|
| Dimensions and location | Finished opening, screen centerline, elevation, clearances, nearby finishes, and cabinet layout match approved drawings | Measured survey, marked photographs, approved drawing |
| Support structure | Mounting interfaces, flatness, alignment, access, corrosion protection, and project-specific approval are complete | Inspection record, dimensions, photographs, responsible approval |
| Power | Supply, circuits, protection, isolation, distribution, cable terminations, grounding provision, and test status are ready | Single-line drawing, panel schedule, test record, labels |
| Signal and control | Sources, processor location, rack, network or fiber routes, cable lengths, endpoints, and backup paths are confirmed | Signal diagram, cable schedule, test record, rack layout |
| Environment | Indoor conditions or outdoor weather exposure, drainage, sealing interfaces, ventilation, heat sources, and cleaning risks are addressed | Site photographs, environmental plan, interface details |
| Installation logistics | Delivery route, unloading, storage, lifting, working platform, access hours, labor, tools, and protection are booked | Method plan, access approval, equipment booking |
| Commissioning | Power-up authority, content sources, test images, network access, operator attendance, and acceptance criteria are available | Commissioning plan, content files, acceptance checklist |
Verify dimensions after surrounding work is complete
Design drawings may use nominal dimensions that change when finishes, cladding, millwork, ceilings, raised floors, doors, or adjacent equipment are installed. Survey the finished mounting area and compare it with the latest cabinet layout and structure drawing. Confirm screen width and height, centerline, elevation, depth, front alignment, side clearances, rear access where used, and the route for power and signal entry.
Confirm the support structure and cabinet interfaces
The structure should be reviewed by the project’s responsible qualified professionals for the intended installation and local conditions. The LED supplier should provide current cabinet dimensions, weights, mounting locations, access requirements, and connection details. The structural team should return an approved interface drawing rather than relying only on a rendered image.
- Check that mounting points are reachable and do not conflict with cables, anchors, finishes, or nearby services.
- Measure alignment, flatness, level, plumb, depth, and the clear opening against the approved layout.
- Confirm that field welding, drilling, coating repair, and cleaning are complete before cabinets enter the area.
- Identify adjustment provisions for cabinet alignment and the party responsible for using them.
- Keep the required service path open after cladding, trim, or adjacent equipment is installed.
Make power readiness measurable
“Power available” is not a complete readiness result. The electrical team should compare the approved distribution design with the delivered display configuration and provide the project-required inspection or test evidence before connection. Confirm input voltage and frequency, circuit arrangement, isolation, protective devices, cable size and route, termination location, phase allocation where relevant, grounding provisions, labels, and authority to energize.
Separate maximum capacity planning from estimated operating use. The LED display power-consumption guide explains why buyers should request both maximum and typical operating information with clear test or calculation assumptions. Control racks, processors, network equipment, cooling, and maintenance outlets may also need coordinated power.
Test signal routes before cabinets cover the wall
Confirm the complete path from the content source to the screen: source device, switcher, processor, sending hardware, network or fiber route, converters, receiving cards, and cabinet mapping. Record cable types, lengths, labels, endpoints, spare paths, bend and access constraints, rack space, ventilation, and network responsibilities. Test installed cables using the project’s agreed method while both ends are still accessible.
Protect maintenance access for the life of the display
Installation access and service access are different. The installation team may have open space that disappears after architectural finishes or other equipment is completed. Confirm how technicians will remove modules, reach power supplies and receiving cards, disconnect cables, use tools, place removed parts, and work without damaging surrounding finishes.
The choice between front and rear access affects wall depth, walkways, doors, ventilation, cable routing, and replacement procedures. Use the front-versus-rear service guide to align the product design with the actual maintenance space.
Check environmental and outdoor interfaces
For indoor sites, review nearby heat sources, direct sunlight, air-conditioning discharge, dust-producing work, moisture, cleaning methods, ventilation paths, and public contact. For outdoor projects, coordinate weather exposure, drainage, water paths, cabinet sealing interfaces, cable entry, corrosion protection, ventilation, rear enclosure conditions, and safe service access.
Do not assume a cabinet rating solves every site interface. Water can enter through surrounding construction, cable routes, penetrations, rear enclosures, or drainage problems. Buyers considering an outdoor LED display solution should send site photographs and interface drawings so the supplier can identify product boundaries before installation.
Plan delivery, storage, lifting, and work zones
Measure the route from the unloading point to the screen: vehicle access, dock restrictions, gates, corridors, elevators, door openings, floor loading constraints, turns, steps, and temporary obstructions. Confirm case or carton dimensions and weights before booking handling equipment. Reserve a dry, secure, level storage area where cabinets can be inventoried without blocking other contractors.
- Book unloading equipment, lifting equipment, work platforms, operators, and spotters for the agreed dates.
- Confirm access hours, noise or dust limits, security procedures, permits where applicable, and site induction.
- Protect finished floors, walls, ceilings, furniture, and adjacent systems during movement and assembly.
- Provide waste handling for packing material and a controlled area for tools, spares, and removed modules.
- Coordinate the LED sequence with structure, electrical, network, cladding, ceiling, and content teams.
These bookings should be tied to the confirmed LED display project schedule. If site readiness slips, update delivery, labor, lifting, and storage plans together rather than moving only the installation date.
Prepare commissioning inputs before power-up
Commissioning needs more than an energized screen. Confirm the intended input resolution, aspect ratio, frame rate, content sources, network settings, brightness approach, operating schedule, control location, remote-access policy, test images, and representative content. Identify who can approve visual results and who will receive configuration files and operator training.
Agree on site-acceptance checks for physical condition, cabinet alignment, pixel operation, image uniformity, source switching, restart, fault recovery where specified, content scaling, service access, documentation, spares, and operator handover. Factory acceptance evidence is useful, but it does not replace tests under the installed power, structure, signal, environment, and viewing conditions.
Hold a documented pre-delivery readiness review
Schedule a final review before dispatch or before the point when freight and labor bookings become difficult to change. Use current photographs or live video, measured dimensions, approved drawings, power and signal records, access confirmations, equipment bookings, and a list of open actions. The buyer’s authorized representative should issue a written ready, conditionally ready, or not-ready decision.
- Ready: installation can proceed under the approved method and schedule.
- Conditionally ready: limited actions remain, with owners and dates that do not block the agreed sequence.
- Not ready: one or more critical conditions would prevent delivery, installation, power-up, or acceptance.
Common site-readiness warning signs
- Measurements come from an old drawing: finished-site dimensions have not been surveyed.
- Power is “nearby”: distribution, isolation, protection, terminations, grounding, and tests are undefined.
- The wall will be adjusted later: no owner or tolerance exists for correcting the support interface.
- Cables are installed but untested: faults may appear only after access is covered.
- Access is temporary: the maintenance route disappears after finishes or furniture are installed.
- Delivery is booked without storage: cabinets may be exposed, moved repeatedly, or block other work.
- No acceptance owner attends: commissioning stops while visual and operational decisions wait for approval.
Release the site with evidence, not assumptions
A strong site-readiness process connects the approved LED design to the real building, installation method, and operating workflow. It verifies dimensions, structure, power, signal, environment, access, logistics, commissioning inputs, and responsibilities before expensive resources arrive. The result is not a promise that nothing will change; it is a controlled decision based on current evidence and named open actions.
For a project-specific readiness review, send the display type, screen dimensions, pixel pitch, cabinet layout, site photographs, mounting drawing, power and signal information, service direction, access route, installation location, target operating date, and planned acceptance method. SXLED Display can use those inputs to clarify product interfaces and quotation responsibilities.
How This Guide Was Prepared
This guide was prepared by the Shangxian Display Editorial Team using available product specifications, factory inspection workflows, recurring buyer questions, and practical project-selection requirements.
Final product specifications, certifications, warranty terms, spare-parts quantities, lead times, and installation requirements should be confirmed for the selected model in the project quotation.