
LED Display Commissioning Checklist: From Power-On to Handover
Article Summary
Use this LED display commissioning checklist to control first power-on, signal mapping, image checks, fault recovery, documentation, and site handover.
An LED display is not ready for handover simply because it can show an image. Commissioning must connect the installed cabinets, power distribution, signal path, control configuration, content sources, operating settings, service access, and acceptance evidence into one working system. Without a controlled process, teams may hide mapping errors, overload assumptions, damaged pixels, unstable signal paths, or incomplete documentation behind a successful first picture. This checklist helps B2B buyers define what to verify from first power-on through site acceptance and operator handover.
Treat commissioning as a controlled release
Commissioning begins after the installation has reached an agreed safe and inspectable condition. It should not be used to compensate for unfinished structure, uncertain power, untested cable routes, missing cabinets, wet equipment, or uncontrolled construction work. The buyer, supplier, installer, electrical team, signal or network team, content owner, and final approver should know which checks they own and what evidence closes each item.
Confirm these prerequisites using the LED display site-readiness checklist. If an open site condition could affect safety, alignment, cooling, weather protection, signal stability, or the accuracy of the test, record it and delay the affected commissioning step.
Agree on the test plan and acceptance evidence
Define the commissioning scope before power-on. The plan should identify the current cabinet layout, control-system architecture, power arrangement, test sources, representative content, required operating modes, named witnesses, issue-grading method, and release authority. It should also distinguish checks that can be completed on an individual cabinet from checks that require the complete installed screen.
| Commissioning stage | What to verify | Useful evidence |
|---|---|---|
| Pre-power inspection | Installation condition, cabinet identity, connections, service access, cleanliness, dryness, and open site risks | Marked layout, photographs, inspection record |
| Controlled energization | Approved distribution sequence, circuit behavior, cabinet startup, unusual heat, sound, smell, or visible damage | Power-on log, circuit record, issue list |
| Configuration | Screen mapping, cabinet order, receiving configuration, resolution, source settings, and saved files | Configuration backup, version record, screenshots |
| Visual and functional checks | Pixel operation, image geometry, color and brightness consistency, scaling, source switching, restart, and specified recovery behavior | Test pattern results, photographs, videos, signed observations |
| Operational handover | Approved settings, content workflow, schedules, user access, maintenance route, spares, training, and contacts | Handover pack, attendance record, acceptance status |
Inspect the installed system before energizing it
Walk the complete screen with the latest drawings and cabinet map. Confirm that cabinets are in the intended positions, locks and mounting interfaces are secured, modules sit correctly, protective material has been removed, service paths remain usable, and power and signal connections follow the approved arrangement. Check for pinched cables, loose connectors, debris, moisture, impact damage, blocked ventilation, and field work that may have affected the display.
Compare visible site condition with the documented delivery result. The LED display receiving-inspection checklist explains how to keep case, cabinet, accessory, damage, and discrepancy records connected from delivery to installation. An item under quarantine or pending review should not quietly enter the commissioned system.
Use a staged and supervised power-on
Power-on should follow the approved project procedure under competent electrical supervision. Confirm that equipment is dry, stable, correctly connected, and suitable for the available supply before energizing. Bring up the system in controlled sections where the design and procedure allow, so the team can identify abnormal behavior without exposing the whole screen to an unresolved fault.
- Record the circuit or section, time, responsible person, and result of each energization step.
- Watch for unexpected trips, unstable startup, unusual sound, smell, heat, smoke, arcing, or visible damage.
- Stop and isolate the affected section when the result is uncertain; do not repeatedly reset protection without finding the cause.
- Confirm that fans, power supplies, control racks, processors, and related equipment start as intended.
- Keep temporary power, bypasses, and unfinished terminations outside the acceptance configuration.
Verify the complete signal path and screen map
Trace the path from each content source to the processor, sending hardware, network or fiber links, receiving cards, hub connections, and cabinet groups. Confirm source resolution, frame rate, input selection, scaling behavior, screen dimensions, cabinet order, port assignments, and any project-specific rotation or segmentation. Use simple identification patterns to make row, column, port, and cabinet errors obvious.
Load only approved configuration files whose project, cabinet type, version, and date are known. Save a copy of the installed configuration before and after any justified adjustment. Avoid tuning one visible symptom while losing the known working baseline or creating different versions across laptops and controllers.
Run visual checks with controlled test content
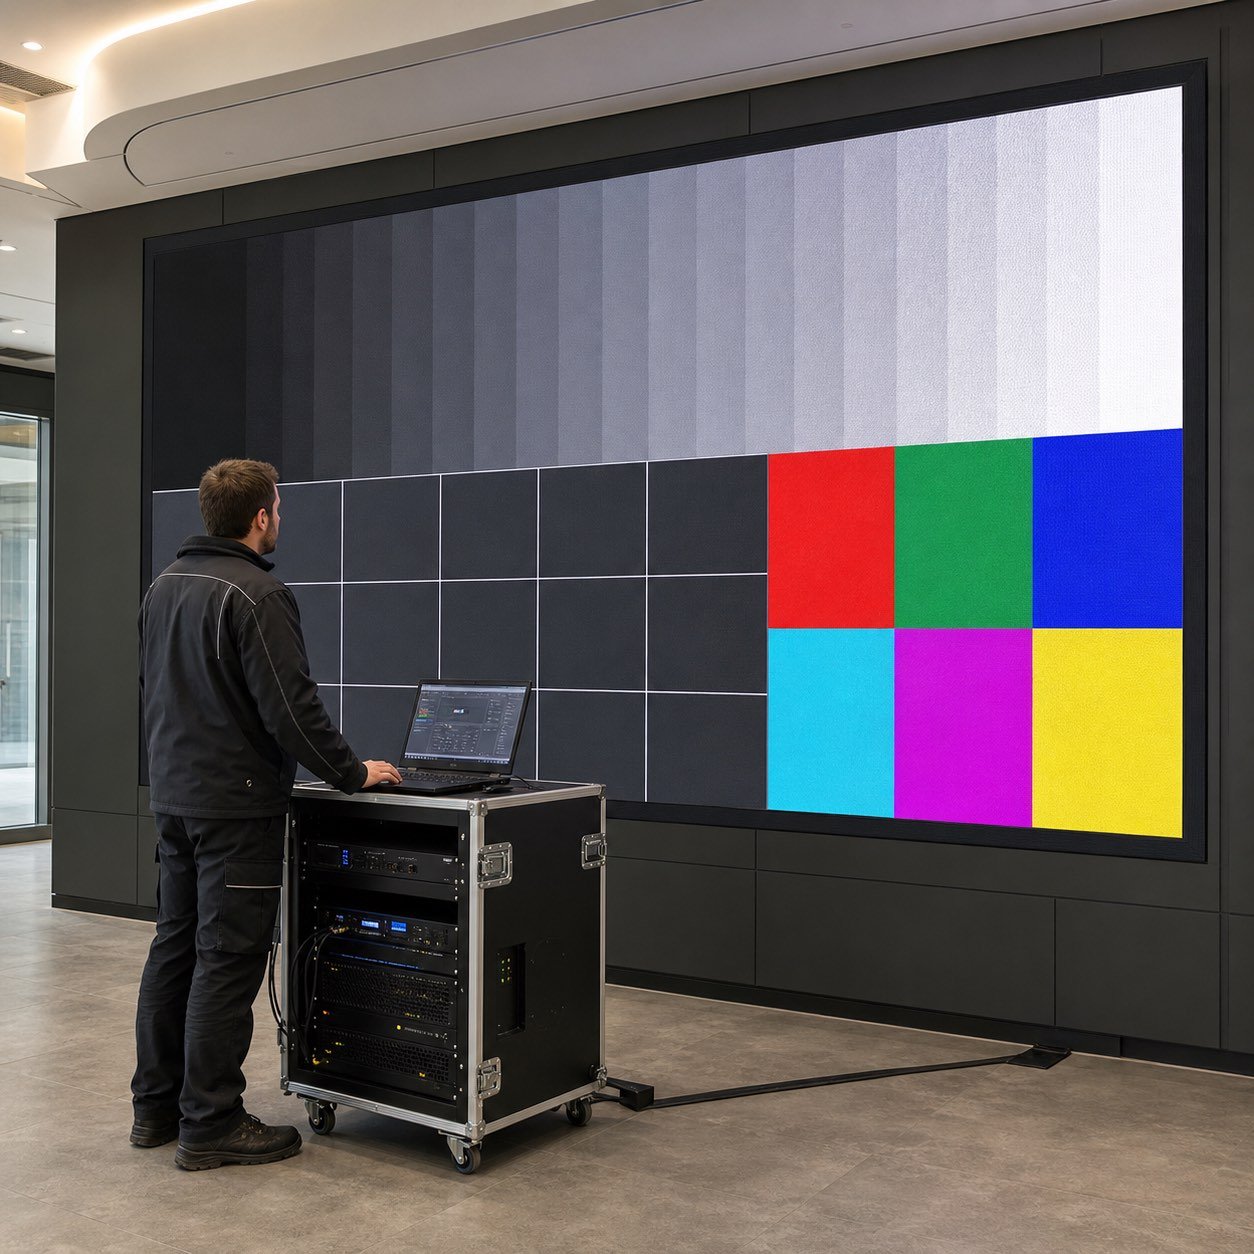
Use solid colors, grayscale steps, gradients, lines, grids, moving patterns, text, and representative customer content to expose different problems. Check for dead or abnormal pixels, module orientation, color or brightness differences, image tearing, scaling errors, cropped edges, uneven seams, cabinet alignment, incorrect aspect ratio, and artifacts that appear only in motion or on camera.
Evaluate the screen from the intended viewing areas, not only from a service position. Record the viewing distance, ambient conditions, input source, brightness setting, test content, and any camera settings that materially affect an observed result. This makes photographs and videos more useful than an unexplained close-up.
Set an operating range, not one impressive number
The brightest possible image is rarely the correct final setting. Establish practical indoor, outdoor, day, night, event, rehearsal, or broadcast presets as the project requires. Confirm that brightness control, color settings, input range, scaling, and content workflow produce an appropriate result for the real environment without hiding visible inconsistencies.
Document the accepted settings and who may change them. If the screen uses automatic brightness, schedules, remote control, or centralized content management, test the relevant sensors, rules, user permissions, time settings, and fallback behavior rather than assuming the feature is active.
Test sources, switching, restart, and recovery
Commission every input and operating mode that is included in the accepted scope. Test source selection, switching, scaling, scheduled playback, loss and restoration of an input, controlled restart, processor restart, and normal shutdown. Verify that the operator can identify which source is active and recover the approved configuration without relying on the one technician who built it.
Where redundancy was specified, test the agreed failure scenarios and record what actually happens. The LED display control-system redundancy guide explains why processors, transmission paths, power dependencies, failover logic, and recovery procedures must be evaluated as one end-to-end design.
Compare site results with factory evidence
Factory checks establish a pre-dispatch reference under controlled conditions. Site commissioning confirms the installed result with the actual structure, power, signal routes, control equipment, content sources, environmental conditions, and viewing positions. Use the approved LED display factory-acceptance test records to compare configuration identity and unresolved items, but do not treat them as a substitute for site evidence.
Close issues before they disappear into handover
Give every commissioning issue a reference, location, description, evidence, severity, owner, target date, and closure method. Separate defects that block operation or acceptance from limited open items that can be managed without hiding risk. After repair, replacement, configuration change, or cable correction, repeat the affected test and any dependent checks.
Clarify how unresolved items interact with warranty start, temporary use, spare consumption, replacement shipment, and final payment under the applicable agreement. The LED display warranty checklist helps buyers define evidence, authorization, exclusions, freight responsibilities, response paths, and post-warranty support before a claim.
Complete the operational handover
- Approved cabinet, power, signal, and control drawings.
- Installed configuration files, backups, versions, and recovery instructions.
- Accepted operating presets, source settings, schedules, and user permissions.
- Commissioning results, photographs, issue log, closure evidence, and acceptance status.
- Operator training, routine checks, safe shutdown and restart steps, and escalation contacts.
- Maintenance access instructions, service tools, spare-parts inventory, and storage records.
The final release can be accepted, accepted with named open items, or withheld pending correction. A useful handover makes the installed system repeatable: another authorized operator can start it, select a source, load content, use the accepted settings, recognize a fault, restore the approved configuration, and contact the right support path.
For a project-specific commissioning plan, send the screen type and dimensions, cabinet layout, installation drawings, power and signal architecture, control-system model, content sources, required operating modes, site conditions, target handover date, and acceptance criteria. SXLED Display can use those inputs to clarify configuration, test scope, evidence, training, and support responsibilities.
How This Guide Was Prepared
This guide was prepared by the Shangxian Display Editorial Team using available product specifications, factory inspection workflows, recurring buyer questions, and practical project-selection requirements.
Final product specifications, certifications, warranty terms, spare-parts quantities, lead times, and installation requirements should be confirmed for the selected model in the project quotation.