
LED Display Preventive Maintenance: A Practical Checklist
Article Summary
Use this LED display preventive maintenance checklist to plan inspections, cleaning, fault records, spare-parts control, and operating verification.
An LED display can pass commissioning and still become difficult to operate if maintenance begins only after a visible failure. Buyers need a practical plan that turns the handover baseline into repeatable inspections, controlled cleaning, configuration backups, spare-parts records, fault escalation, and evidence of completed work. The goal is not to create a long list of tasks for its own sake. It is to detect change early, protect the accepted operating condition, and make each intervention traceable. This LED display preventive maintenance checklist helps facility managers, AV teams, integrators, and procurement owners define that process without relying on one technician’s memory.
Start with the accepted system baseline
A maintenance plan needs a known starting point. Collect the approved cabinet map, power and signal drawings, controller configuration, receiving-card files, operating presets, source settings, access instructions, open-item list, training record, spare inventory, and named support contacts. The LED display commissioning checklist explains how these records should connect to the final installed result.
Record the screen’s normal condition while it is operating correctly. Useful baseline evidence can include full-screen test patterns, photographs from agreed viewing positions, brightness presets, temperature or fan observations available through the installed system, active configuration versions, and the location of any accepted minor variation. Without this reference, a later technician may treat an old condition as a new defect or overwrite a working configuration while trying to improve an undocumented setting.
Define ownership before setting an interval
Assign an owner for routine observation, planned inspection, content and source checks, fault response, spare-parts control, configuration backups, supplier escalation, and maintenance approval. One person may cover several roles, but the responsibilities should still be explicit. Also state which tasks can be completed by trained site operators and which require the installer, supplier, electrical team, structural team, or another competent service provider.
Maintenance frequency should reflect the project rather than a generic calendar. Consider operating hours, indoor or outdoor exposure, dust, moisture, heat, access difficulty, audience impact, event schedule, camera use, vibration, previous faults, and the criticality of the screen. A lobby display with easy front access has a different risk profile from a high outdoor screen or a broadcast installation. Review the interval after faults, environmental changes, relocation, major content-system changes, or unusually intensive use.
Build a simple preventive maintenance schedule
The following structure is a planning example, not a universal manufacturer schedule. Adapt it to the supplied equipment, installation design, site procedures, warranty terms, and actual operating history.
| Maintenance layer | Typical scope | Evidence to retain |
|---|---|---|
| Routine operator check | Startup, active source, visible image condition, unusual sound or smell, alerts, and access obstructions | Dated operator log and fault reference |
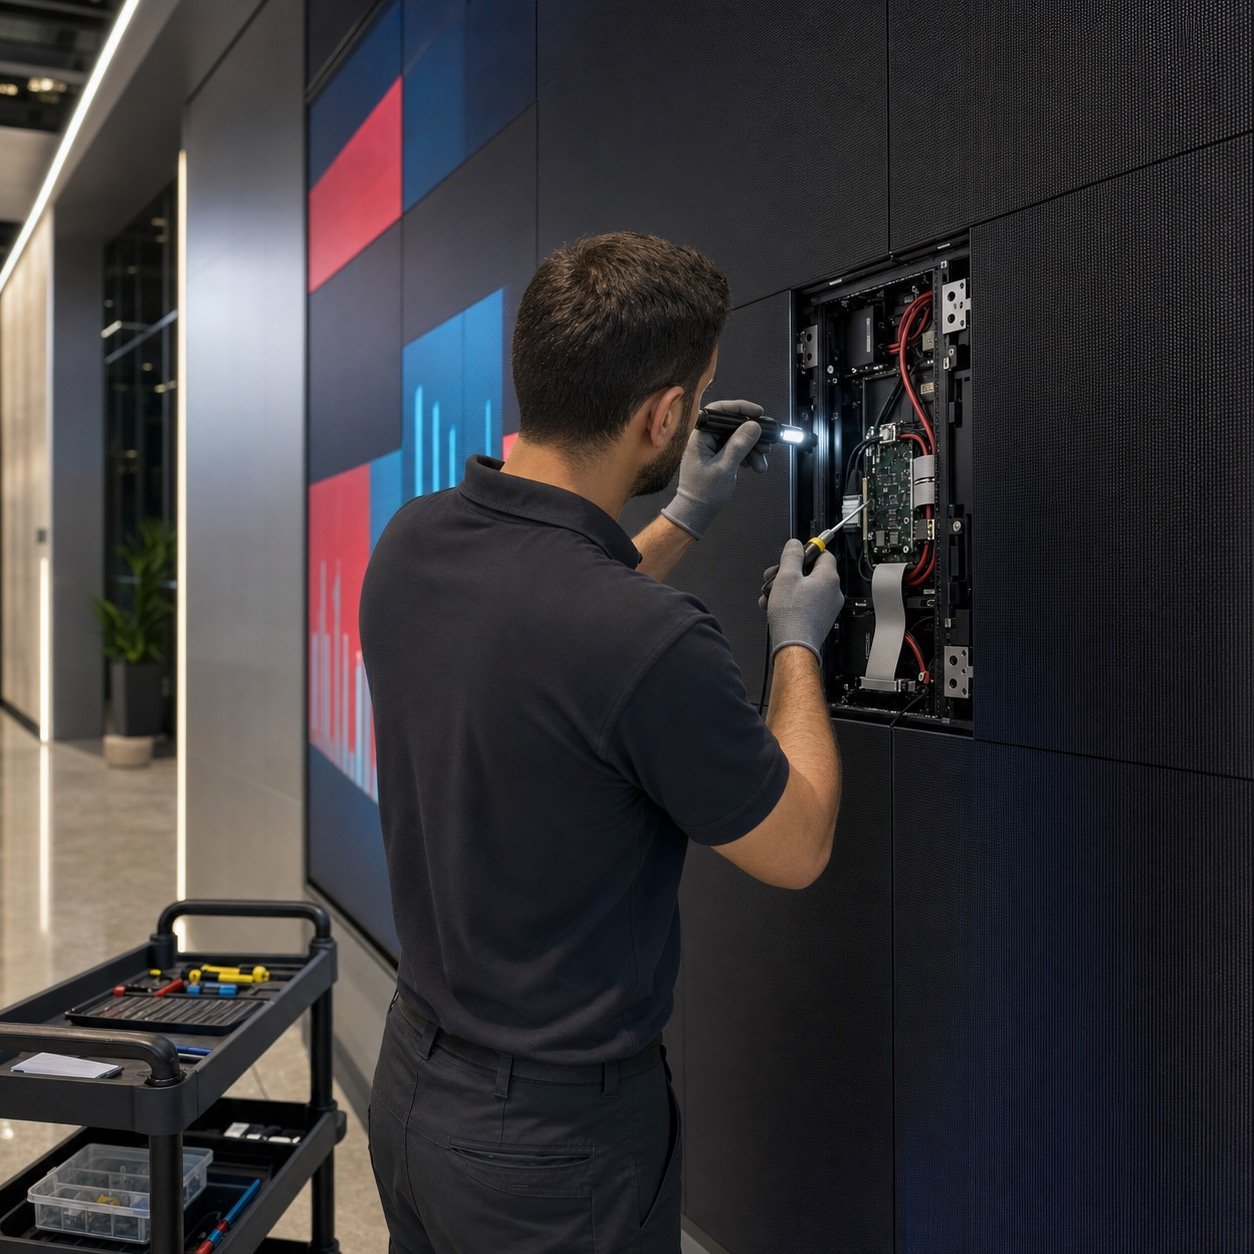
| Planned visual inspection | Modules, cabinet seams, ventilation, cables, connectors, service access, cleanliness, moisture indicators, and surrounding site condition | Checklist, marked cabinet map, and photographs |
| Functional verification | Test patterns, source switching, schedules, brightness presets, restart procedure, and specified recovery behavior | Test results, configuration version, and exceptions |
| Periodic service review | Fault trends, spare consumption, repeat locations, open corrective work, training gaps, and interval suitability | Trend summary, action owners, and revised plan |
Inspect the display and its service environment
Walk the complete installation from the intended viewing area and the approved service route. Look for abnormal pixels, module differences, dark sections, alignment changes, loose trim, damaged surfaces, blocked ventilation, debris, moisture, cable strain, unsecured access panels, or site work that may have affected the display. Compare observations with the cabinet map so every issue has a repeatable location.
Confirm that front or rear service access remains usable after furniture, decoration, storage, new equipment, or building modifications are added. If the project is still at the design or procurement stage, the front-versus-rear service guide can help teams understand how access strategy affects space, intervention time, and component removal.
Use only cleaning methods and materials approved for the installed product and environment. Document what was cleaned, the condition before work, the method used, the responsible person, and the result. Do not let an appearance task become an undocumented technical intervention. If cleaning requires module removal or access near powered equipment, follow the project’s isolation and service procedures and use appropriately qualified personnel.
Check power, cooling, and operating load
Review the distribution arrangement against the approved drawings and look for changes introduced after handover. Record unexpected trips, repeated resets, damaged connectors, loose covers, unusual heat, unstable startup, fan problems, blocked airflow, or sections that behave differently from the baseline. Treat smell, smoke, arcing, visible damage, or uncertain electrical condition as reasons to stop and escalate under the site procedure rather than repeatedly restarting the screen.
Keep operating presets connected to the real application. A screen does not need to run at its maximum setting simply because that setting is available. The LED display power-consumption guide explains the difference between maximum planning load and typical content-dependent operation. Maintenance records should note the active brightness mode, schedule, ambient conditions, and any setting change that could affect thermal behavior or energy use.
Protect the signal path and configuration history
Check the complete path from content source to processor, sending hardware, network or fiber links, receiving cards, and cabinet groups. Record intermittent signal loss, source-detection problems, damaged or strained cables, changed port assignments, and temporary adapters that have entered the permanent setup. Temporary fixes should have an owner and closure date rather than becoming invisible parts of the system.
Back up the working configuration before and after an approved change. The file name or register should identify the project, screen, controller, version, date, and person responsible. Keep the recovery copy in an agreed location that authorized operators can actually find. Avoid multiple unlabeled files on separate laptops, because a later restore can reintroduce an old cabinet map, incorrect resolution, or unsuitable brightness settings.
Use test content to find image changes early
Representative customer content is useful, but it can hide defects. Add controlled checks with solid colors, grayscale steps, gradients, fine lines, grids, moving patterns, and text at known sizes. View the screen from agreed positions and record the input source, brightness preset, ambient condition, and camera settings when photographs or video are used as evidence.
- Mark the exact cabinet, module, row, column, or port when recording an issue.
- Separate pixel defects from mapping, scaling, source, or content problems.
- Compare color and brightness differences with the accepted baseline before making adjustments.
- After a replacement or configuration change, repeat the affected pattern and any dependent source checks.
Control spare parts as maintained assets
A spare is useful only when it is compatible, identifiable, stored correctly, and available when needed. Maintain a register for modules, receiving cards, power supplies, hub boards, cables, connectors, and project-specific tools. Record part identity, quantity, storage location, compatibility notes, receipt date, issue date, installed location, reason for use, and replenishment status. The LED display spare-parts checklist provides a fuller procurement and inventory framework.
When a component is replaced, keep the old part’s status clear: returned, under review, repairable, quarantined, or disposed of through the agreed process. Update the cabinet map and configuration record when the change affects traceability or screen behavior. Review repeated consumption by location or part type; a pattern may point to an unresolved environmental, connection, handling, or configuration problem rather than isolated component failure.
Make every fault and intervention traceable
Use one fault log for routine observations, alarms, visible defects, source problems, power events, service work, and supplier cases. Each entry should include the time, screen state, exact location, symptom, evidence, immediate action, owner, affected operation, parts used, configuration change, verification result, and closure status. Link related entries when a symptom returns.
Clarify which evidence is needed before a supplier can assess a case and how authorization, freight, replacement parts, site labor, and configuration support are handled under the applicable agreement. The LED display warranty checklist helps buyers align maintenance records with a practical claim and support process.
Verify the system after maintenance
Maintenance is not complete when the access panel closes. Confirm the affected area is clean and secure, tools and temporary materials are removed, connections follow the approved arrangement, the intended configuration is active, and the screen starts normally. Run the relevant test patterns, source checks, brightness preset, schedule, restart, and recovery checks. Record what was not tested and why.
Close the work as accepted, accepted with a named follow-up, or unresolved. Update spare inventory, cabinet maps, configuration backups, photographs, and operator instructions where necessary. A short, complete record is more valuable than a long checklist with no location, owner, evidence, or closure decision.
Turn maintenance history into better decisions
Review the log periodically for repeat faults, high-consumption parts, recurring cabinet locations, missed inspections, long closure times, access delays, and configuration changes. Use the findings to adjust intervals, training, spare levels, service contracts, operating presets, and future project specifications. The plan should become more specific as the team learns how the actual installation behaves.
For a project-specific maintenance plan, send the display type and dimensions, cabinet layout, service-access method, installation environment, daily operating schedule, control-system model, handover records, current spare inventory, known faults, and expected support arrangement. SXLED Display can use those inputs to clarify maintenance scope, documentation, spare-parts planning, and escalation responsibilities for the installed system.
How This Guide Was Prepared
This guide was prepared by the Shangxian Display Editorial Team using available product specifications, factory inspection workflows, recurring buyer questions, and practical project-selection requirements.
Final product specifications, certifications, warranty terms, spare-parts quantities, lead times, and installation requirements should be confirmed for the selected model in the project quotation.