
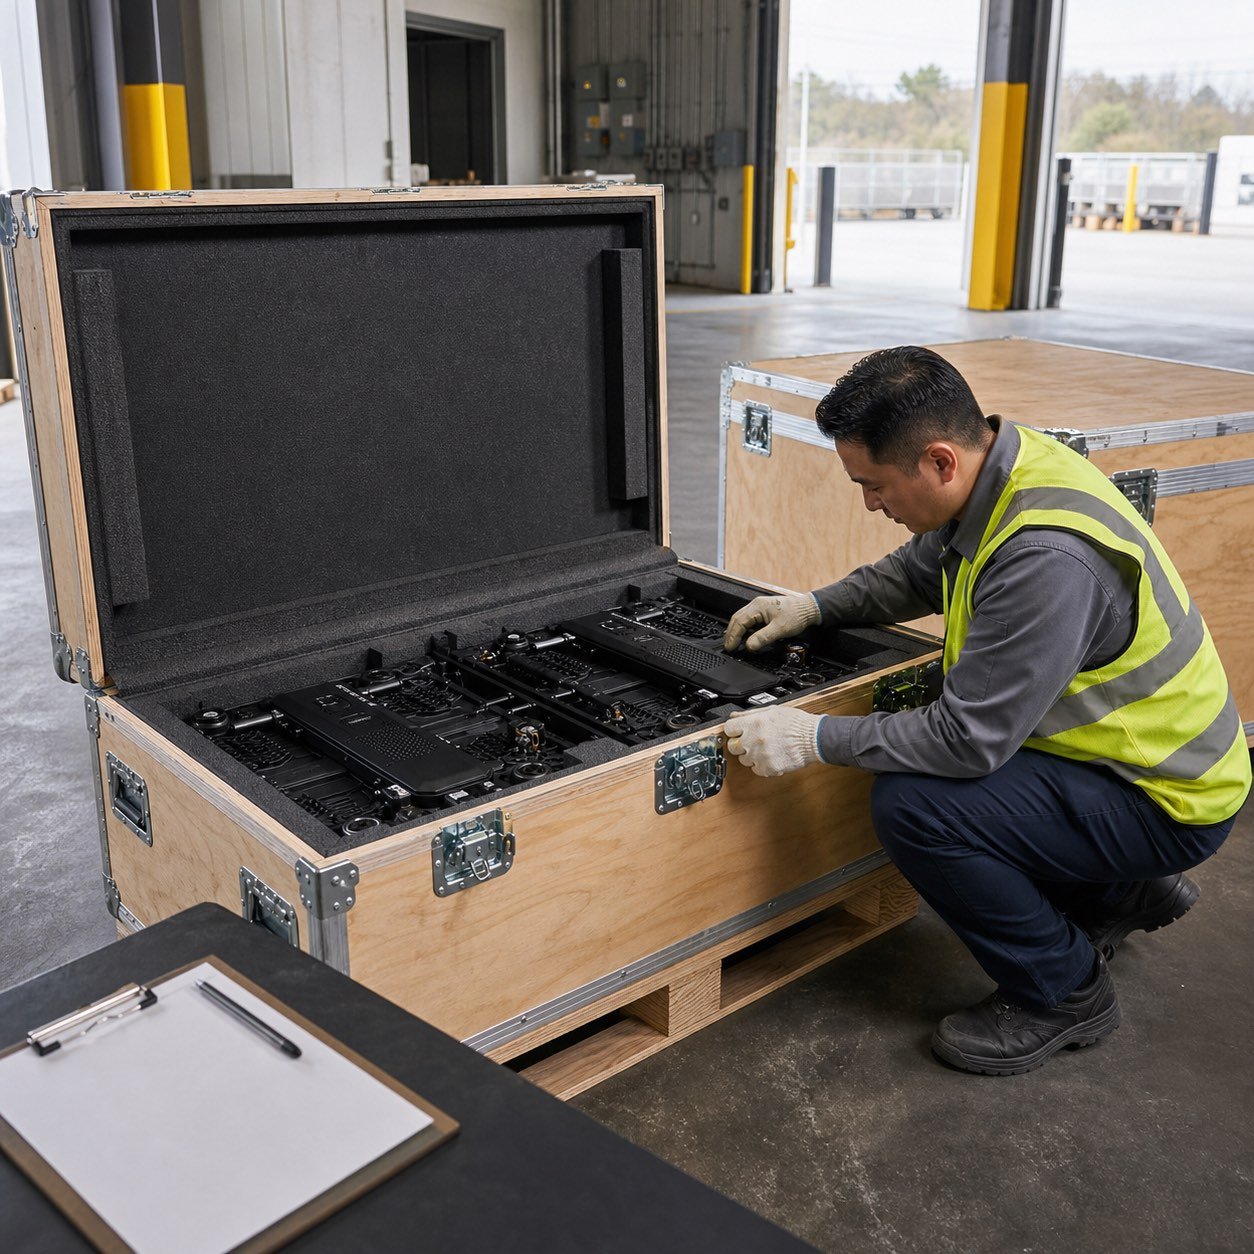
LED Display Receiving Inspection: A Buyer’s Delivery Checklist
Article Summary
Use this LED display receiving-inspection checklist to document shipment condition, inventory equipment, test safely, and resolve delivery discrepancies.
An LED display shipment can arrive on time and still create project delays if transport damage, missing accessories, mixed cabinet labels, wet packaging, or incomplete documents are discovered only during installation. A structured receiving inspection gives the buyer a reliable record of what arrived, its visible condition, and any action required before the equipment is moved, powered, or installed. This checklist helps B2B project teams inspect an LED display delivery without turning the loading dock into an improvised commissioning area.
Plan the receiving inspection before the truck arrives
Receiving starts with preparation. Confirm the delivery date, vehicle access, unloading method, case dimensions and weights, handling equipment, storage location, and the people authorized to sign for the shipment. The inspection area should be dry, level, secure, well lit, and large enough to separate unopened cases, inspected equipment, packing materials, and quarantined items.
Coordinate these arrangements with the LED display site-readiness checklist. If the installation area is not ready, decide in advance where the shipment will be stored and who will control access, environmental conditions, and repeated movement.
Assign clear receiving roles
Name one receiving lead and define who unloads, photographs, checks documents, opens cases, counts equipment, performs technical inspection, records discrepancies, and communicates with the supplier or freight party. The person signing a delivery note may be acknowledging receipt, not confirming that every hidden component is undamaged, so the project team should understand the wording and its own agreed process before signing.
Use one inspection and evidence record
| Inspection stage | What to verify | Evidence to keep |
|---|---|---|
| Before unloading | Vehicle, seal where used, case count, orientation, visible impact, water exposure, and delivery documents | Wide and close photographs, time, vehicle details, notes |
| Packaging | Case or carton condition, shock points, straps, locks, labels, moisture, punctures, and crushed areas | All sides photographed before opening |
| Inventory | Cabinets, modules, control equipment, cables, tools, spares, and documents match the approved packing list | Checked packing list, serial or asset record |
| Equipment condition | Frames, corners, connectors, modules, masks, handles, locks, coatings, and accessories show no visible damage | Item-level photographs and discrepancy references |
| Controlled functional check | Only the agreed sample or system check is performed under suitable power, environment, and supervision | Test method, configuration, results, photographs or video |
| Release decision | Accepted, accepted with open items, or quarantined pending review | Named owner, action, deadline, and approval |
Inspect the load before anything is moved
Photograph the shipment while it is still positioned as delivered. Capture the vehicle or container interior, overall load, restraints, case orientation, stacked condition, and every visible damaged or wet area. If a seal number or shipment identifier is part of the agreed documents, compare and record it. Do not remove straps, move cases, or discard wrapping until the initial condition is documented.
Use handling equipment suited to the documented weights and lifting points, and keep people outside unstable load paths. If a case is leaning, crushed, wet, or difficult to access, pause and agree on a safe unloading method rather than pulling it free. Receiving speed is less valuable than preserving people, equipment, and evidence.
Match the delivery to the approved documents
Compare the delivery note and packing list with the purchase order, approved configuration, and supplier release information. Check the number and type of cases, cabinet model and quantity, pixel pitch, cabinet size, control-system components, power and signal cables, mounting or hanging hardware, tools, spare parts, and project documents. Record substitutions or quantity differences instead of assuming they are equivalent.
The expected delivery date and inspection resources should also be reflected in the LED display project schedule. Allow time for counting, technical checks, issue review, and supplier response before installation labor depends on the released equipment.
Open and identify cases in a controlled sequence
Open one case or one clearly defined group at a time. Keep its label, packing list reference, contents, photographs, and inspection result connected. Avoid mixing similar cabinets, modules, cables, or spare parts from different cases before identification is complete. Preserve reusable protective materials until the equipment has passed inspection and no return or further transport decision is pending.
- Record cabinet or case identifiers in the same format used by the supplier.
- Confirm that cabinet orientation and row or column labels agree with the approved layout where project mapping is provided.
- Separate installation consumables from service spares so neither is used accidentally.
- Keep suspect items in a marked quarantine area rather than returning them to accepted stock.
- Control packing waste so small accessories, keys, fasteners, adapters, or documents are not discarded.
Inspect LED cabinets and modules carefully
Check cabinet frames and corners for dents, cracks, distortion, chipped coating, or signs that the case absorbed an impact. Inspect alignment features, locks, handles, mounting points, module faces, masks, connectors, cables, power inlets, data ports, and protective covers. Look for loose parts, unusual movement, debris, moisture, corrosion, or damaged seals. Do not force a connector, cabinet lock, or module into position to make it appear acceptable.
Compare the incoming condition with the approved LED display factory-acceptance records. Factory photographs, test results, configuration files, and packing evidence help the buyer distinguish a pre-dispatch result from a delivery-stage issue. They do not eliminate the need for an independent receiving record.
Check control equipment, cables, tools, and spares
Small components can stop a large screen installation. Verify sending equipment, processors, receiving-related accessories, fiber or network devices, power and signal cables, adapters, test tools, cabinet keys, mounting hardware, and any project-specific items. Match cable types and lengths to the approved schedule where available, and check connectors for bent contacts, cracked housings, missing caps, or contamination.
Count spare modules, receiving cards, power supplies, cables, and other agreed service stock separately from production quantities. The LED display spare-parts planning guide explains how to define useful quantities and preserve configuration compatibility for future maintenance.
Perform only a controlled functional check
A loading dock is not automatically a suitable test environment. Before energizing any equipment, confirm that it is dry, stable, acclimatized where temperature or condensation may be relevant, correctly connected, and supplied from an appropriate protected source under competent supervision. Follow the approved supplier procedure and project electrical rules. Never power visibly wet, damaged, contaminated, or uncertain equipment merely to see whether it works.
The agreed receiving test may range from no power-on, to a sample cabinet check, to a staged system test. Record which cabinets and control components were tested, the input configuration, test content, duration, observed pixel or image issues, restart behavior, and any limitations. Preserve original configuration files before making changes.
Document discrepancies before repair or installation
Create one discrepancy number for each issue or clearly related group. Record the case and item identifier, quantity affected, description, photographs from several angles, packaging condition, test result, date, inspector, and immediate action. Retain relevant packaging and move affected equipment to quarantine. Avoid unauthorized repair, disassembly, cleaning, or configuration changes that could remove evidence or complicate responsibility.
Notify the responsible supplier, freight contact, insurer, or project party within the time and format required by the applicable agreement. Request written direction for inspection, replacement, repair, credit, or return. The LED display warranty checklist can help buyers clarify coverage, exclusions, evidence, response paths, and authorization before a problem occurs.
Release the shipment with a clear status
- Accepted: the documented scope is present, inspected, and available for the next approved stage.
- Accepted with open items: limited discrepancies have owners and deadlines and do not affect the agreed installation sequence.
- Quarantined: condition, identity, safety, quantity, or function requires review before use.
A good receiving inspection protects the project without pretending that every performance requirement can be verified at delivery. It creates traceability from the vehicle and packaging to each case, cabinet, accessory, test, discrepancy, and release decision. That evidence helps the buyer manage storage and installation while giving the supplier a precise basis for resolving genuine issues.
For a project-specific delivery checklist, send the screen type, cabinet model and quantity, packing list, delivery method, installation location, storage conditions, target installation date, and planned receiving test. SXLED Display can help align the packing, documentation, spare parts, and inspection scope before dispatch.
How This Guide Was Prepared
This guide was prepared by the Shangxian Display Editorial Team using available product specifications, factory inspection workflows, recurring buyer questions, and practical project-selection requirements.
Final product specifications, certifications, warranty terms, spare-parts quantities, lead times, and installation requirements should be confirmed for the selected model in the project quotation.